Generating a customer invoice pdf with NextJS
Software engineer doing epic stuff ⚡️
Introduction
In this article, we will be building a NextJS app that generates a pdf invoice for a customer from an HTML template.
Let's get started 🚀
Prerequisites
NextJS: NextJS is a react library for building user interfaces or UI components.
handlebars: a simple templating language that can be used to inject dynamic content into an HTML file.
puppeteer: a Node library that can be used to generate screenshots and PDFs of pages among other uses.
Clone the starter repository
I created a simple starter template with some custom CSS styling so we can focus on building the logic. The completed app can be found on the complete branch
Open a terminal and run
git clone https://github.com/walebant/next-node-generate-pdf.git
Wait for the project to download then switch into the folder you just downloaded by running cd next-node-generate-pdf
After switching to the directory, run npm install to install the necessary dependencies, then run
npm run dev
# or
yarn dev
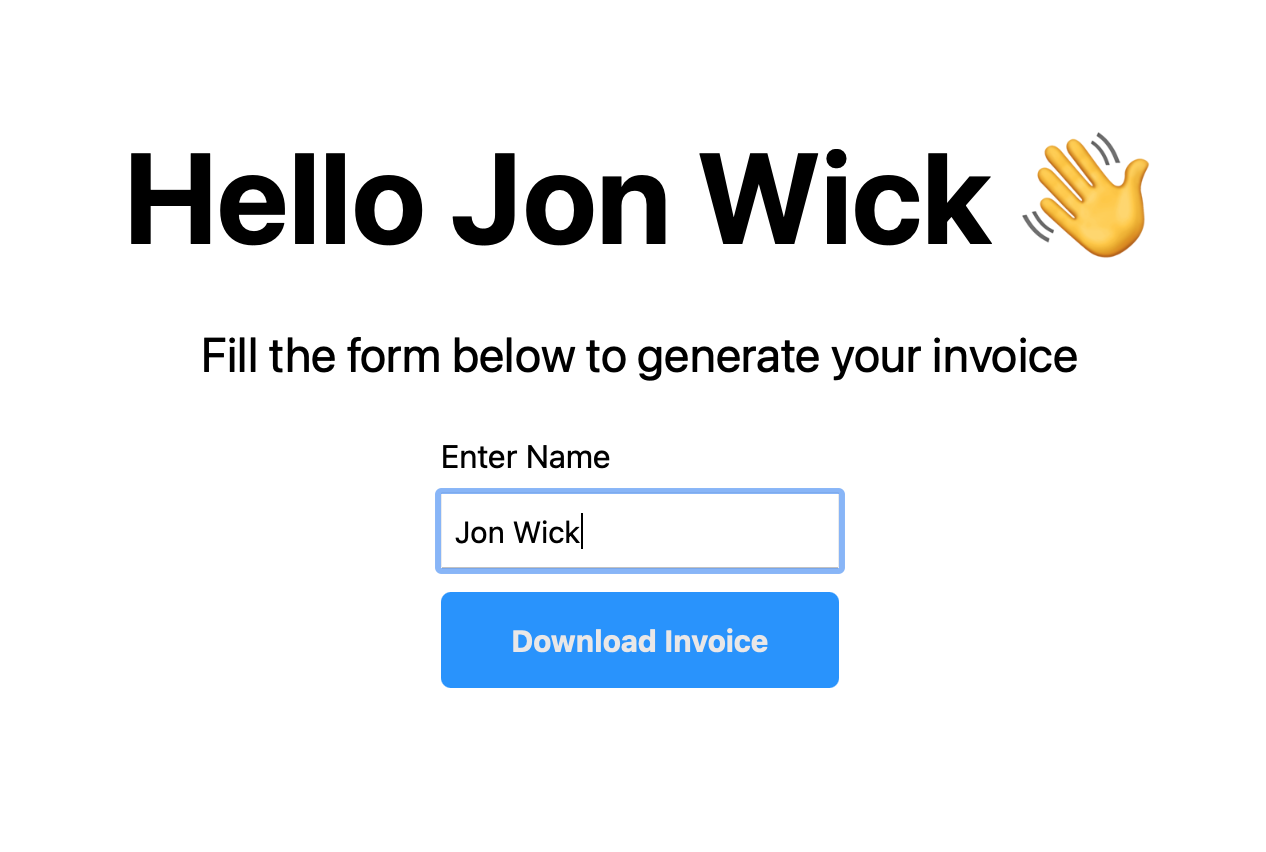
Open http://localhost:3000 with your browser and you'll see the result below.
Building the app
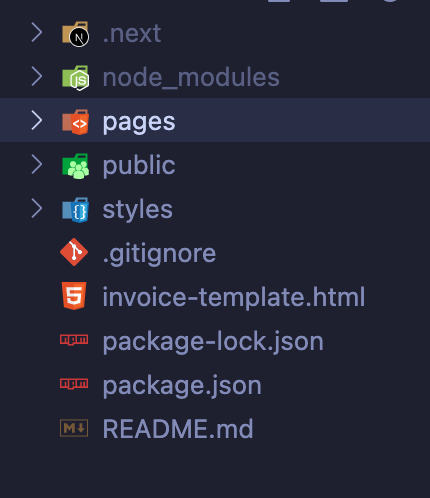
Open the app in any IDE of your choice, you should see the file structure like this:
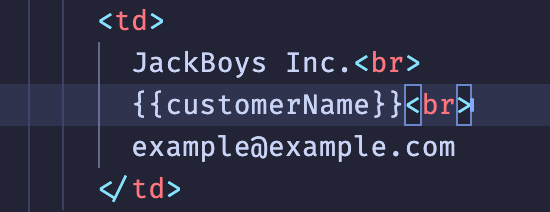
The invoice-template.html is the template we'll use to create a pdf that will be downloaded by the client. On line 146 of the file, you'll notice the {{customerName}} flag. We will use this flag to inject a dynamic variable (in this case, a customer name) into the template through handlebars.
Now let's start writing the logic for our application.
Create a file named generate-invoice.js in /pages/api
This will handle converting the invoice-template.html into a pdf file. Here we can write our nodejs server code. NextJS operates a file-based routing system, this means our API route will be available on https://localhost:3000/api/generate-invoice
// import the necessary node libraries
import fs from 'fs';
import puppeteer from 'puppeteer';
import handlers from 'handlebars';

export default async (req, res) => {
  // extract the customer name from the req.body object
  // and also set a default name with the logical operator
  const { name } = JSON.parse(req.body);
  const customerName = name || 'John Doe';

  try {
    // read our invoice-template.html file using node fs module
    const file = fs.readFileSync('./invoice-template.html', 'utf8');

    // compile the file with handlebars and inject the customerName variable
    const template = handlers.compile(`${file}`);
    const html = template({ customerName });

    // simulate a chrome browser with puppeteer and navigate to a new page
    const browser = await puppeteer.launch();
    const page = await browser.newPage();

    // set our compiled html template as the pages content
    // then waitUntil the network is idle to make sure the content has been loaded
    await page.setContent(html, { waitUntil: 'networkidle0' });

    // convert the page to pdf with the .pdf() method
    const pdf = await page.pdf({ format: 'A4' });
    await browser.close();

    // send the result to the client
    res.statusCode = 200;
    res.send(pdf);
  } catch (err) {
    console.log(err);
    res.status(500).json({ message: err.message });
  }
};
The next step is to consume the API in the client by making a POST request with the data we want to send (in our case the customer's name).
Navigate to /pages/index.js and create the generateInvoice function
export default function Home() {

 // container function to generate the Invoice
  const generateInvoice = e => {
    e.preventDefault();
    // send a post request with the name to our API endpoint
    const fetchData = async () => {
      const data = await fetch('http://localhost:3000/api/generate-invoice', {
        method: 'POST',
        body: JSON.stringify({ name }),
      });
      // convert the response into an array Buffer
      return data.arrayBuffer();
    };

    // convert the buffer into an object URL
    const saveAsPDF = async () => {
      const buffer = await fetchData();
      const blob = new Blob([buffer]);
      const link = document.createElement('a');
      link.href = URL.createObjectURL(blob);
      link.download = 'invoice.pdf';
      link.click();
    };

    saveAsPDF();
  };

.....
Then add an onClick listener to the button and insert the generateInvoice function we just created.

Demo
Open your browser, type a name in the input field and click the Download Invoice button. An invoice.pdf file will be automatically downloaded on your device, open the file and you'll see something like this.
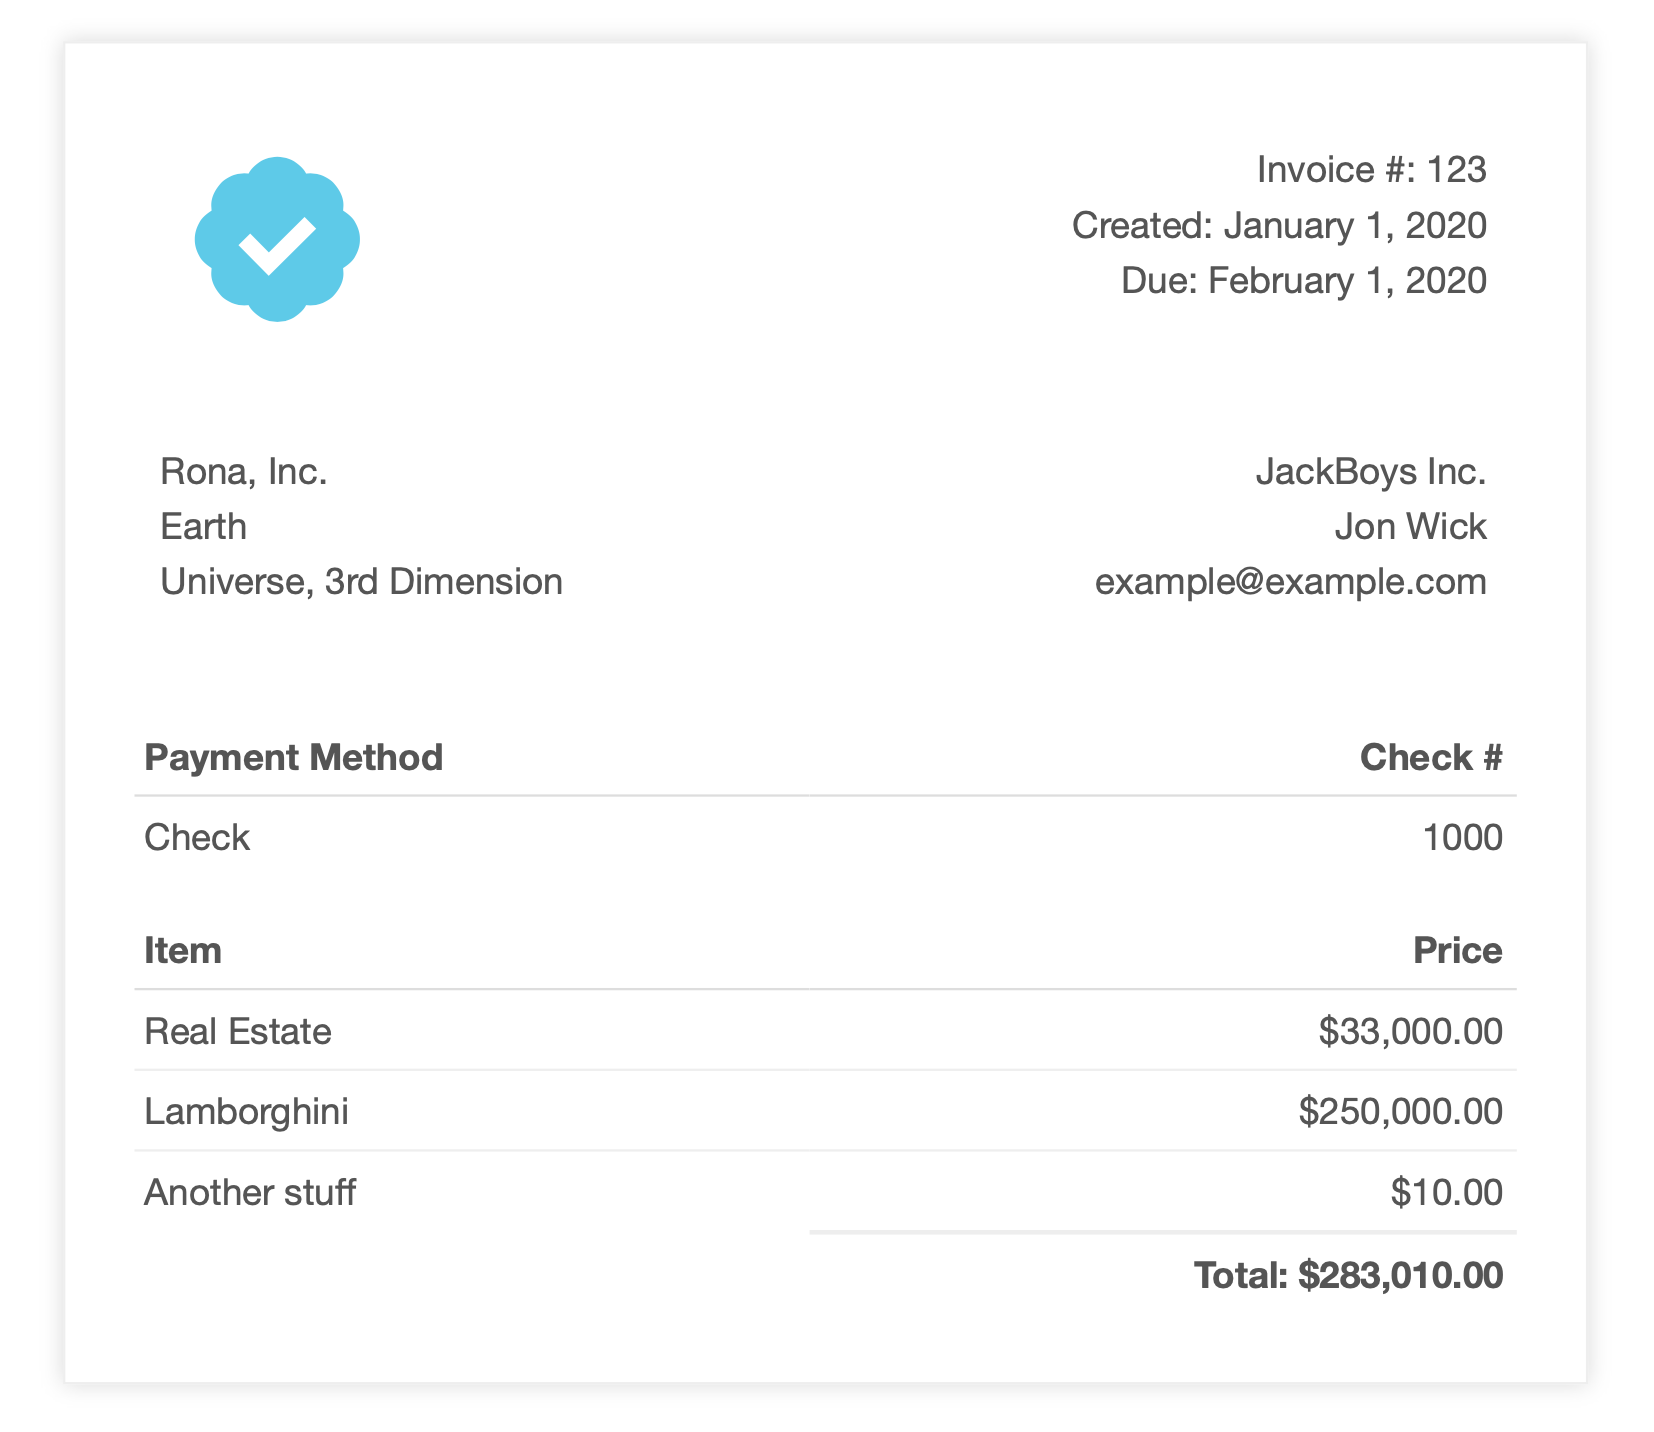
Conclusion
You can make the app more advanced by adding more dynamic content into the invoice-template.html thereby creating a real invoice with purchase information and customer data.
And that’s it! I hope you enjoyed reading this piece. Please share and leave a comment below. Thank You! 🤗
The complete source can be found here